How To Get the Best Fit from Your Sled
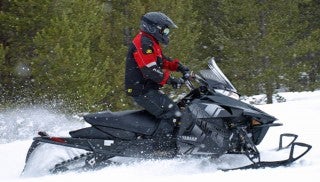
No one can set up your sled like you can
Getting the perfect on-trail set up is your responsibility. Too many of us pick up our new sleds at our dealers and assume that it’s going to be perfectly suited for us. Wrong!
Even the best of dealers, unless they know you and your riding style or you have told them specifically how you want your new sled set up, can’t set up a sled perfectly for every rider. No way! And we really shouldn’t expect that they can. Dealers follow the snowmobile manufacturers’ protocols and deliver sleds based on the manufacturers’ recommendations. The top dealers may go a step or two beyond that and make adjustments specific to the local riding area. But, don’t count on that.
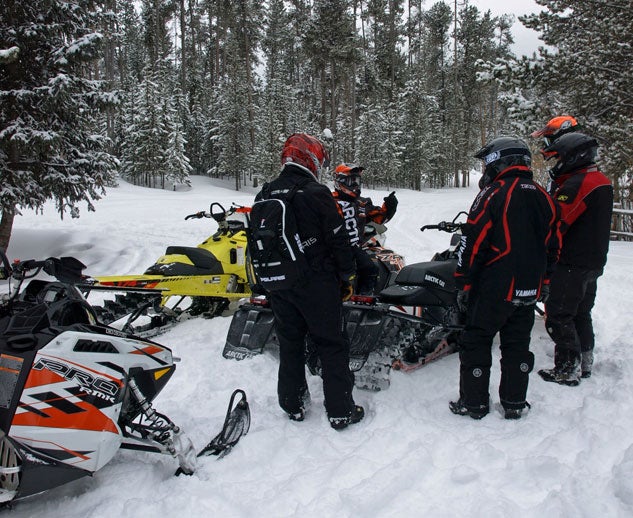 Not every sled fits every rider; getting the best “fit” takes some effort. But it will be rewarded on the trail, and you can brag to friends about how good your sled is.
The good news is that when you pick up your new sled, it will be ready to ride. But, that ready to ride criteria isn’t specific to you. It’s a ready-to-ride designed for the general population of snowmobilers. Dealers follow the sled makers’ guidelines, meaning that the skis should be “trued” within a specific plus-minus tolerance, the suspension should have the right amount of “sit-in” sag for comfort based on your weight – maybe. In essence the suspensions will have been set to reflect a general range of comfort and ride.
How to Set Up Your Sled’s Suspensions
But dealers also make assumptions, assuming that the sled manufacturer gave the sled its correct settings before it was boxed up and shipped out. Not so long ago, one snowmobile manufacturer kept hearing about how harshly its sleds rode, despite the fact that the company’s suspension engineers had labored long to establish comfortable and easy to adjust settings. That snowmobile manufacturer discovered that many of its dealers were not providing enough instruction to customers to show them the proper set up techniques. Unfortunately, this sled company discovered that too many of its own dealers didn’t know the proper set up. The irony was that the suspension was incredibly easy to fine tune… if you read the manual! Once the dealers became part of the solution, the complaints about ride and handling went away.
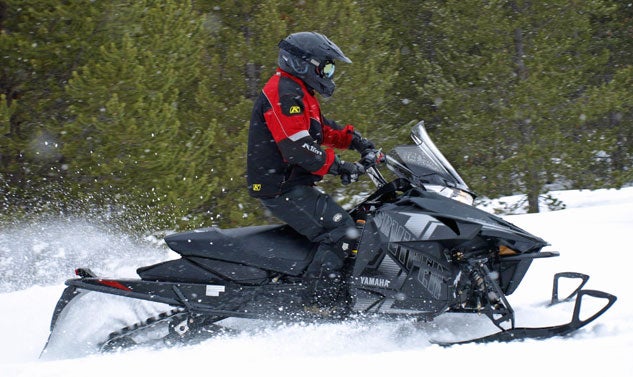 A dealer’s set up is merely a starting point to achieving your perfect on-trail set up.
So, that leaves the proper sled fit up to you. As the rider, it falls to you to get the best performance from your sled. If you’ve bought your sleds from the same dealer over the years, chances are he knows you and your riding preferences, which makes set up better for you. Even then, remember that as the rider, only you know what you like. Only you know how you want your sled to “feel.” It all comes down to you getting the best fit on your sled.
Step one in getting the best fit starts with reading the sled’s manual. You need to know how to make adjustments, where the adjustments are and what they can do and can’t do to enhance your ride. How do you access the drive belt? Where’s the oil filler, the spark plugs, any shut-off valves, the clutch guard release and such? You need to know the peculiarities of your sled long before you’re stopped alongside the trail. You may want to practice unlatching the hood in the comfort of your garage or shop and looking for key under hood items that may need adjusting out on the trail.
Last season we rode what we thought was a simple fan-cooled trail sled. It was, if we had read the manual. The sled had an out of the way fuel shut-off valve that we didn’t know about because we hadn’t read the manual. Once we realized our error, the notion of the shut off valve made great sense, especially when suffering icy fuel lines.
Generally when we think about setting up a sled to fit our riding style, we are thinking about the suspensions and setting up the shocks. Consider all of that important but understand that most new sleds come with additional settings such as control rods, air or clicker shocks, adjuster blocks and such. Regardless of your brand, knowing how to make these adjustments will help you to arrive at the proper steering bite, create greater front-to-rear or rear-to-front weight transfer.
 Most modern sleds come with sophisticated suspension adjustments like the Walker Evans clicker” shocks and tunable spring on the new Pro-XC rear suspension.
You’ll want to know what happens when you play with your sled’s suspensions and exactly what the various settings mean on the trail for handling. In the garage you can get a feel for where the adjusters are and how they work. The real results take effect when you have the sled out for a day’s test ride. Although the dealer delivered your sled with recommended factory settings, know that this is the starting point.
How To Change the Oil in a Snowmobile
Out on the trail you decide if you want a lighter handling front end or more ski pressure for cornering. Fortunately, ride comfort can be literally dialed in on modern sleds like Ski-Doo’s rMotion or Polaris’ new AXYS Pro-XC. On such sleds, after playing with the settings, you’ll find a best all-around set up. When we get there we leave it alone, choosing to make minor changes from that point. That’s why we really like “clicker” shocks, where a mere click or two can make a big difference. With coil-over springs, you can increase or release tension to stiffen or soften the ride.
Recently one sled we rode came from the dealer with a soft and too compliant front suspension set up. We spent a few miles changing the clicker and springs before getting a setting to our liking. Regardless of the sled, you can make setting changes that matter. New fully featured suspensions make arriving at your ideal setting easier.
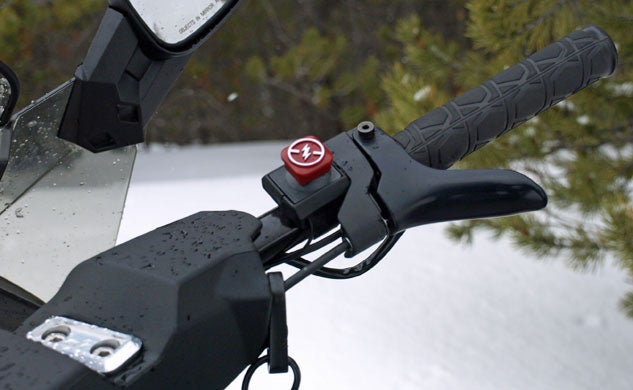 You can easily fit the throttle to maximize your on-trail comfort. Simply loosen and rotate the throttle assembly to suit your throttle thumb.
Ride and comfort from your suspension set-up seems like the obvious way to get the right fit, but it’s only one step. Our on-trail comfort comes with the throttle set a certain way. We have a specific throttle thumb position that we prefer. Since we like to cup the throttle in the web between the thumb and first finger, we rotate the throttle assembly block until we have a comfortable position and lock it in. Maybe that’s why we don’t care for Ski-Doo’s new easily rotated “finger” throttle. We like it on a Sea-Doo, not so much on a Ski-Doo.
In past years Polaris’ various IQ models and Arctic Cat’s Twin Spar chassis offered multi-adjustable handlebars and such. Today, the majority of trail performance sleds feature pinch-plate adjustability to set the handlebar and hand controls to a preferred position. If you like to stand up and your sled’s handlebar doesn’t fit you, then you can opt for a different riser bar to provide extra height. If you have a friend with a taller riser, ask to test sit his sled to see if the height and grip works for you.
Most new sleds have wide enough footboards, but some have so much material removed in favor of snow evacuation that they seem flimsy. You might consider adding running board grips, supports or, even, all new running boards.
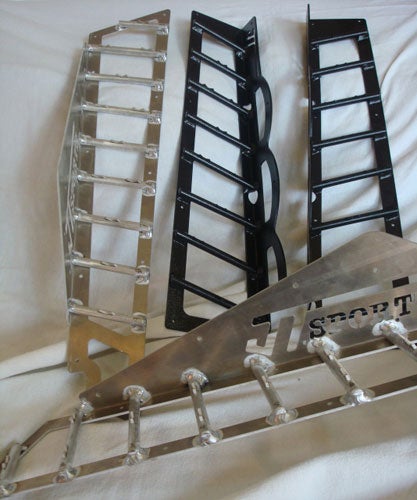 JT SPORTS new No-Snow Running Board Inserts are constructed of lightweight aluminum with individually welded solid ½-inch round stock cross bars. This design is said to significantly stiffen the outside rail, virtually eliminating flex and helping to transfer more of your shifting body weight to the snow. For more information check: JT Sports, PO Box 1029, Columbia Falls, MT 59912 — www.jtpanels.com.
The fit and feel of your sled is a very personal thing. It separates your sled from your buddy’s, even if they are the same brand and model. Getting the right fit defines your riding style, which means how you set up your sled is not a common denominator for one setting fits all riders.
If you have a trail-oriented crossover sled but like to play off trail in unbroken snow, you may want to add a Rox Mountain “Snake Strap” to give you more confidence when playing in powder. Or, you might want to add an adjustable toehold kit to your Ski-Doo T’NT. You don’t have to accept your sled as it comes from the dealer. There are plentiful options to help make your sled better fit you. After all, you are an individual with your own way of riding. That basic dealer sled set up is simply a starting point to help you find the most comfortable and best sled fit for you.
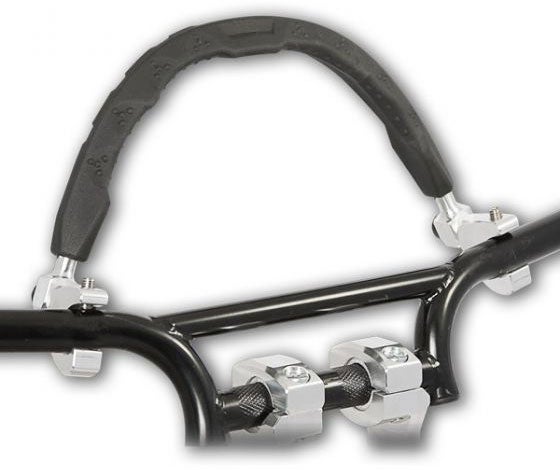 The Rox Mountain “Snake Strap” was developed with support from Skinz Protective Gear and feature Rox’ unique design that is ideal for “cross-over” sled riders who spend time on the trail and want to maintain clear view of their instruments. For more information check http://roxspeedfx.com.




 Your Privacy Choices